Gardening How To

-

"My Worst Mistake" – Gardeners Share 10 Hard-Learned Lessons
Gardeners never stop learning, and sometimes our mistakes are the best teachers. But why not save time and heartache by learning from other gardeners' failures?
-
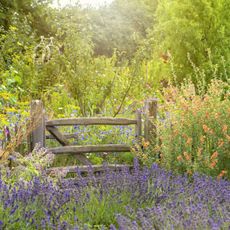
9 Natural Landscaping Ideas For A Garden That Looks Like It’s Always Been There
Read about 9 natural landscaping ideas that will inspire you! Create and enjoy a natural garden and even a natural landscape design.
-
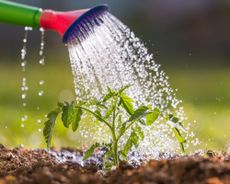
DIY Liquid Fertilizer For Plants – 5 Powerful Tonics To Make
Homemade liquid fertilizer has myriad benefits for vegetables, garden plants, and houseplants. Discover natural tonics that are quick, easy, and cheap to make.
-
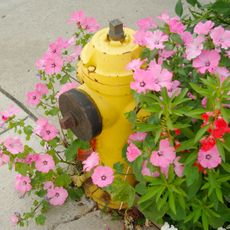
Landscaping Around A Fire Hydrant: Landscaping Tips And Safety Considerations
It might not sound like the obvious choice for a landscaping project, but a fire hydrant can work with a bigger gardening vision. Follow our tips on landscaping around a fire hydrant
-
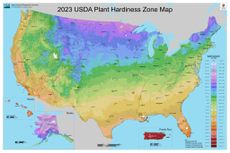
New USDA Plant Hardiness Zone Map: What Changed & What It Means For Gardeners
The new USDA plant hardiness zone map reflects our changing climate and new considerations for plant hardiness. It affects everyone, but especially gardeners.
-
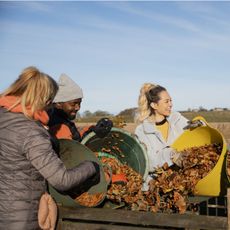
How To Make A Sustainable Garden: 9 Easy Ways To Go Green
There are lots of eco-friendly garden ideas that will move us toward creating a sustainable garden. Here are 9 of our favorites.
-
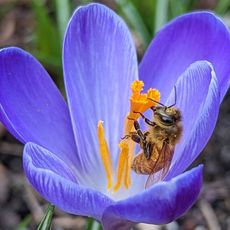
When To Clean Up Garden Beds In Spring To Protect Pollinators
Every spring, I'm reminded that many species of insects have used my garden as a winter hotel and may not be ready for a wake-up call just yet.
-
Cheap Fence Ideas For A Pretty And Private Yard
You don’t need to spend a fortune to box in your garden. Take these cheap fencing ideas for your garden and budget and run with them.
-
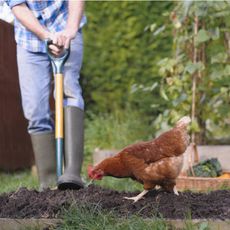
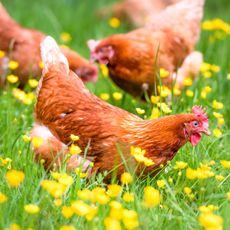
Do Chickens Eat Bugs? Using Poultry As Organic Pest Control
Chickens seek and destroy bugs, making them a gardener's best friend. For garden pest control, fresh eggs and great companionship, try raising chickens.
-
Planting For Chickens: Why You Should Plant A Chicken Garden
If you’ve never considered planting for chickens, this is your chance to enjoy their joyful benefits. We show you how to make an easy chicken garden
-
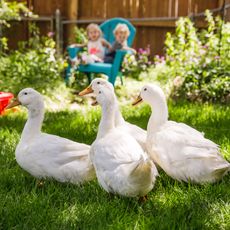
Why It's Time To Raise Ducks For The Garden – Move Over, Chickens!
Others might call you quackers, but if you get some ducks for the garden, you can enjoy a host of plot-friendly benefits. Just follow our expert guide to make the most of these unique creatures
-
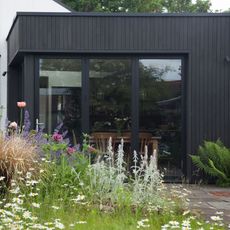
Dark Home Exterior? Choose The Right Plants With Our Expert Dark House Landscaping Tips
If the front or back of your house is very dark, what are the implications for the plants you grow? We reveal how understanding dark house landscaping can help you pick the right plants
-
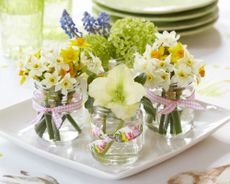
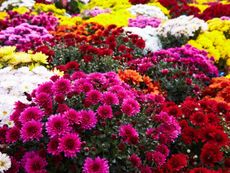
14 Easter Table Decor Ideas Using Spring Flowers
Gather seasonal flowers from the garden and use them to create table settings, centerpieces, and unique decorations – for the most beautiful Easter celebration.
-
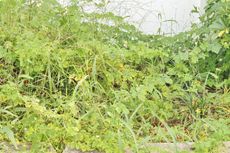
Overgrown Landscape Beds: How To Reclaim An Overgrown Garden
Overgrown plants, multiplying perennials, encroaching weeds and blurred garden edges create chaos. Learn the steps on how to reclaim an overgrown garden and bring back your inner peace with the information found in this article.
-

11 Invasive Plants You Should Never Buy At The Garden Center
They might tempt you with pretty flowers or unique foliage, but invasive plants should be treated with extreme caution. Learn the most common silent invaders to avoid when visiting the garden center.
-
Regional Garden Tasks – Southern Gardening In September
As summer draws to an end, we think of clean-up in the garden and get ready for winter days that are soon to arrive. Plan your September garden chores for the southeast.
-
Common Zone 8 Weeds – How To Get Rid Of Weeds In Zone 8
Weeds thrive in a diverse range of growing conditions, especially mild climates like USDA plant hardiness zone 8.


