Top of the Crop

-

7 Most Surprising Fertilizers Found In Your Kitchen
-
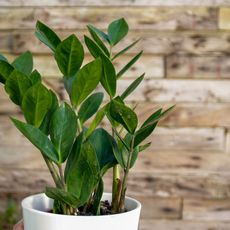
24 Houseplants for Each Type of Friend
A houseplant is an ideal gift, but not every houseplant is right for every person. Click here for our houseplant gift guide.
-

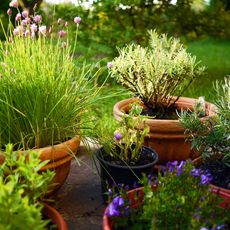
Top 5 Indicator Plants for Gardens
-
Top 5 Lawn Alternatives To Grass
-
Top 5 Shrubs for Screening
-
Top 5 Pests That Attack Garden Plants
-
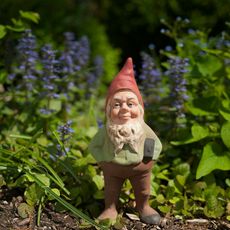
Top 5 Tips for Attracting Gnomes to the Garden
-
Top 10 Plants for Hydroponic Gardening
-
Top 5 Plant Choices for Hot Climates
-
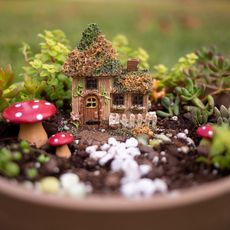
Top 10 Plants for Fairy Gardens
-
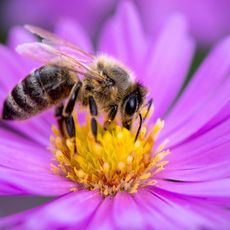
Top 10 Plants for Honeybees
-

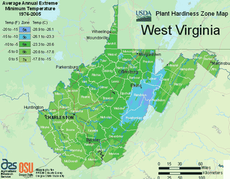
Top 10 Ways to Identify Plants
-
Top 5 Plants for Clay Soil
-
Top 5 Gardening Quotes for Inspiration
-
Top 5 Plants For Making Potpourri
-
Top 10 Plants Deer Don't Like
-

Top 10 Edible Leafy Greens


