Garden Trends
Your ultimate guide to Garden Trends: Everything you need to know with expert info for beginners and advanced gardeners alike.
Garden Trends
-
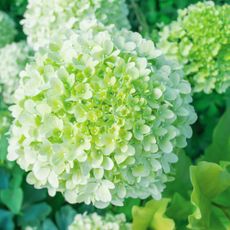
Cyber Lime Plants: Grow The 2024 Color Of The Year In Your Garden
If you’ve yet to sample the surprising cyber lime – the Garden Media Group’s 2024 Color of the Year – this is your chance to see how gorgeous it can be in plants and flowers
By Amy Grant
-
Futuristic Plants: How To Grow A Futuristic Garden
What will we be growing in the future? Global changes and plant breakthroughs mean little is certain, but here we consider futuristic plants and likely gardening innovations
By Amy Grant
-

8 Grant Writing Tips for Community Gardens
Funding for community garden grants is out there. Learn the ropes for writing grant proposals.
By Tiffany Horvath
-
Get Year Round Mushrooms with a Mushroom Grow Kit
By Amy Grant
-
How To Fertilize Your Lawn Cheaply With Household Items
By Tina Martino
-
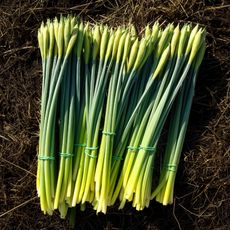
Using Rubber Bands in the Garden
By Liz Baessler
-
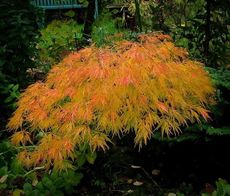
Unique Japanese Maples for Your Garden
By Teo Spengler
-

Azadirachtin vs. Clarified Hydrophobic Extract of Neem Oil
By Bonnie Grant
-
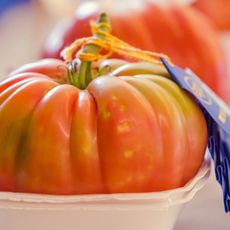
How to Grow Blue Ribbon Tomatoes
By Amy Grant
-
Using Black Diamonds in a Container Garden
By Teo Spengler
-
The Many Advantages of Growing Moss
By Tammy Sons
-
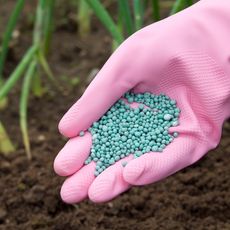
What's the Difference Between Natural and Synthetic Fertilizers?
By Mary Ellen Ellis
-

Landscaping with Knock Out Roses
By Darcy Larum
-

Red Maple Tree Varieties
By Tammy Sons
-

6 Easy Plants To Grow In Shade Gardens
By Tammy Sons
-
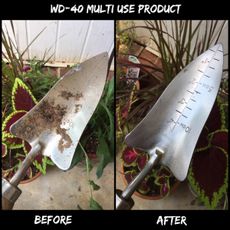
Removing Dirt From Your Gardening Tools With WD-40® Multi-Use Product
By Nikki Tilley
-

Top 5 Trees For Vibrant Fall Leaves
By Tammy Sons
