Garden Trends

-
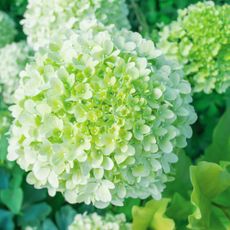
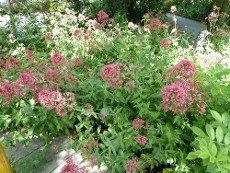
Cyber Lime Plants: Grow The 2024 Color Of The Year In Your Garden
If you’ve yet to sample the surprising cyber lime – the Garden Media Group’s 2024 Color of the Year – this is your chance to see how gorgeous it can be in plants and flowers
-
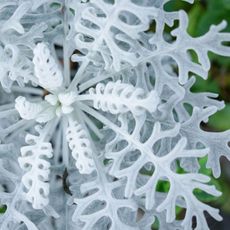
Futuristic Plants: How To Grow A Futuristic Garden
What will we be growing in the future? Global changes and plant breakthroughs mean little is certain, but here we consider futuristic plants and likely gardening innovations
-

8 Grant Writing Tips for Community Gardens
Funding for community garden grants is out there. Learn the ropes for writing grant proposals.
-

Get Year Round Mushrooms with a Mushroom Grow Kit
-
How To Fertilize Your Lawn Cheaply With Household Items
-
Using Rubber Bands in the Garden
-
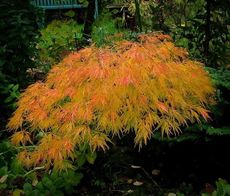
Unique Japanese Maples for Your Garden
-
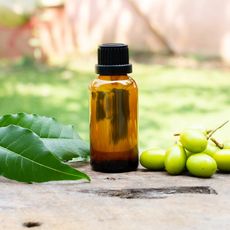
Azadirachtin vs. Clarified Hydrophobic Extract of Neem Oil
-

How to Grow Blue Ribbon Tomatoes
-
Using Black Diamonds in a Container Garden
-

The Many Advantages of Growing Moss
-
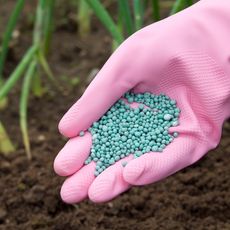
What's the Difference Between Natural and Synthetic Fertilizers?
-
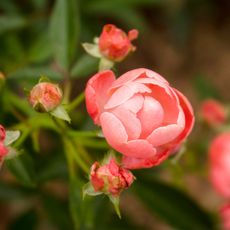
Landscaping with Knock Out Roses
-
Red Maple Tree Varieties
-

6 Easy Plants To Grow In Shade Gardens
-
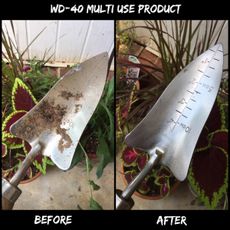
Removing Dirt From Your Gardening Tools With WD-40® Multi-Use Product
-

Top 5 Trees For Vibrant Fall Leaves


